Loading Disaster Hub Image
Overview
This guide walks you through loading a custom Docker image in the Disasters JupyterHub environment.
Steps to Load Custom Image
1. Login to JupyterHub
Navigate to https://hub.disasters.2i2c.cloud/ and log in with your credentials.
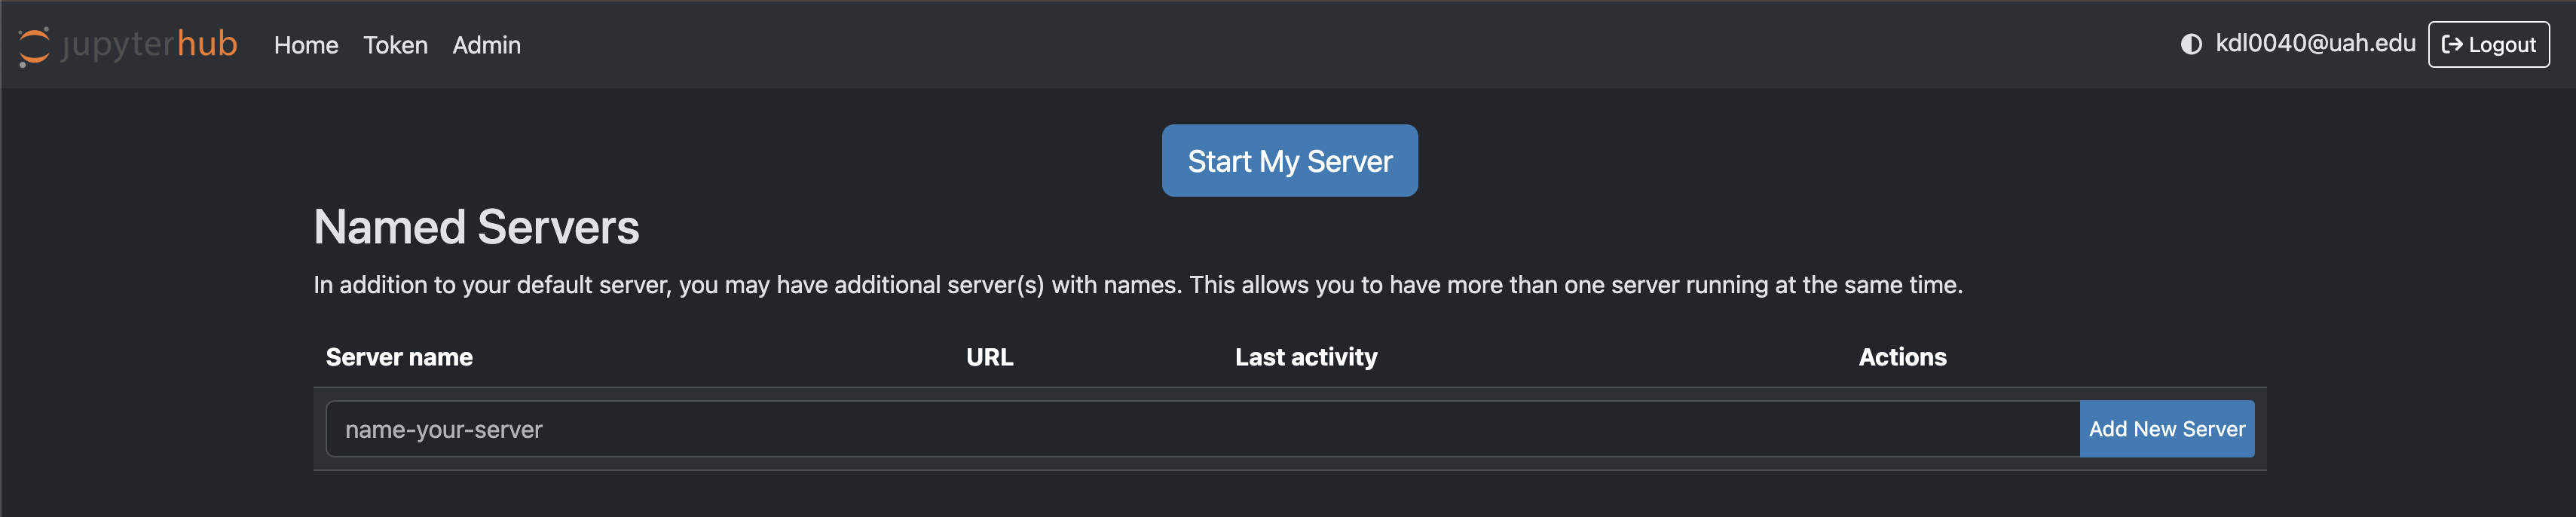
2. Select My Server
After logging in, you’ll see the server management screen. Click on “Start My Server” or manage your existing servers.
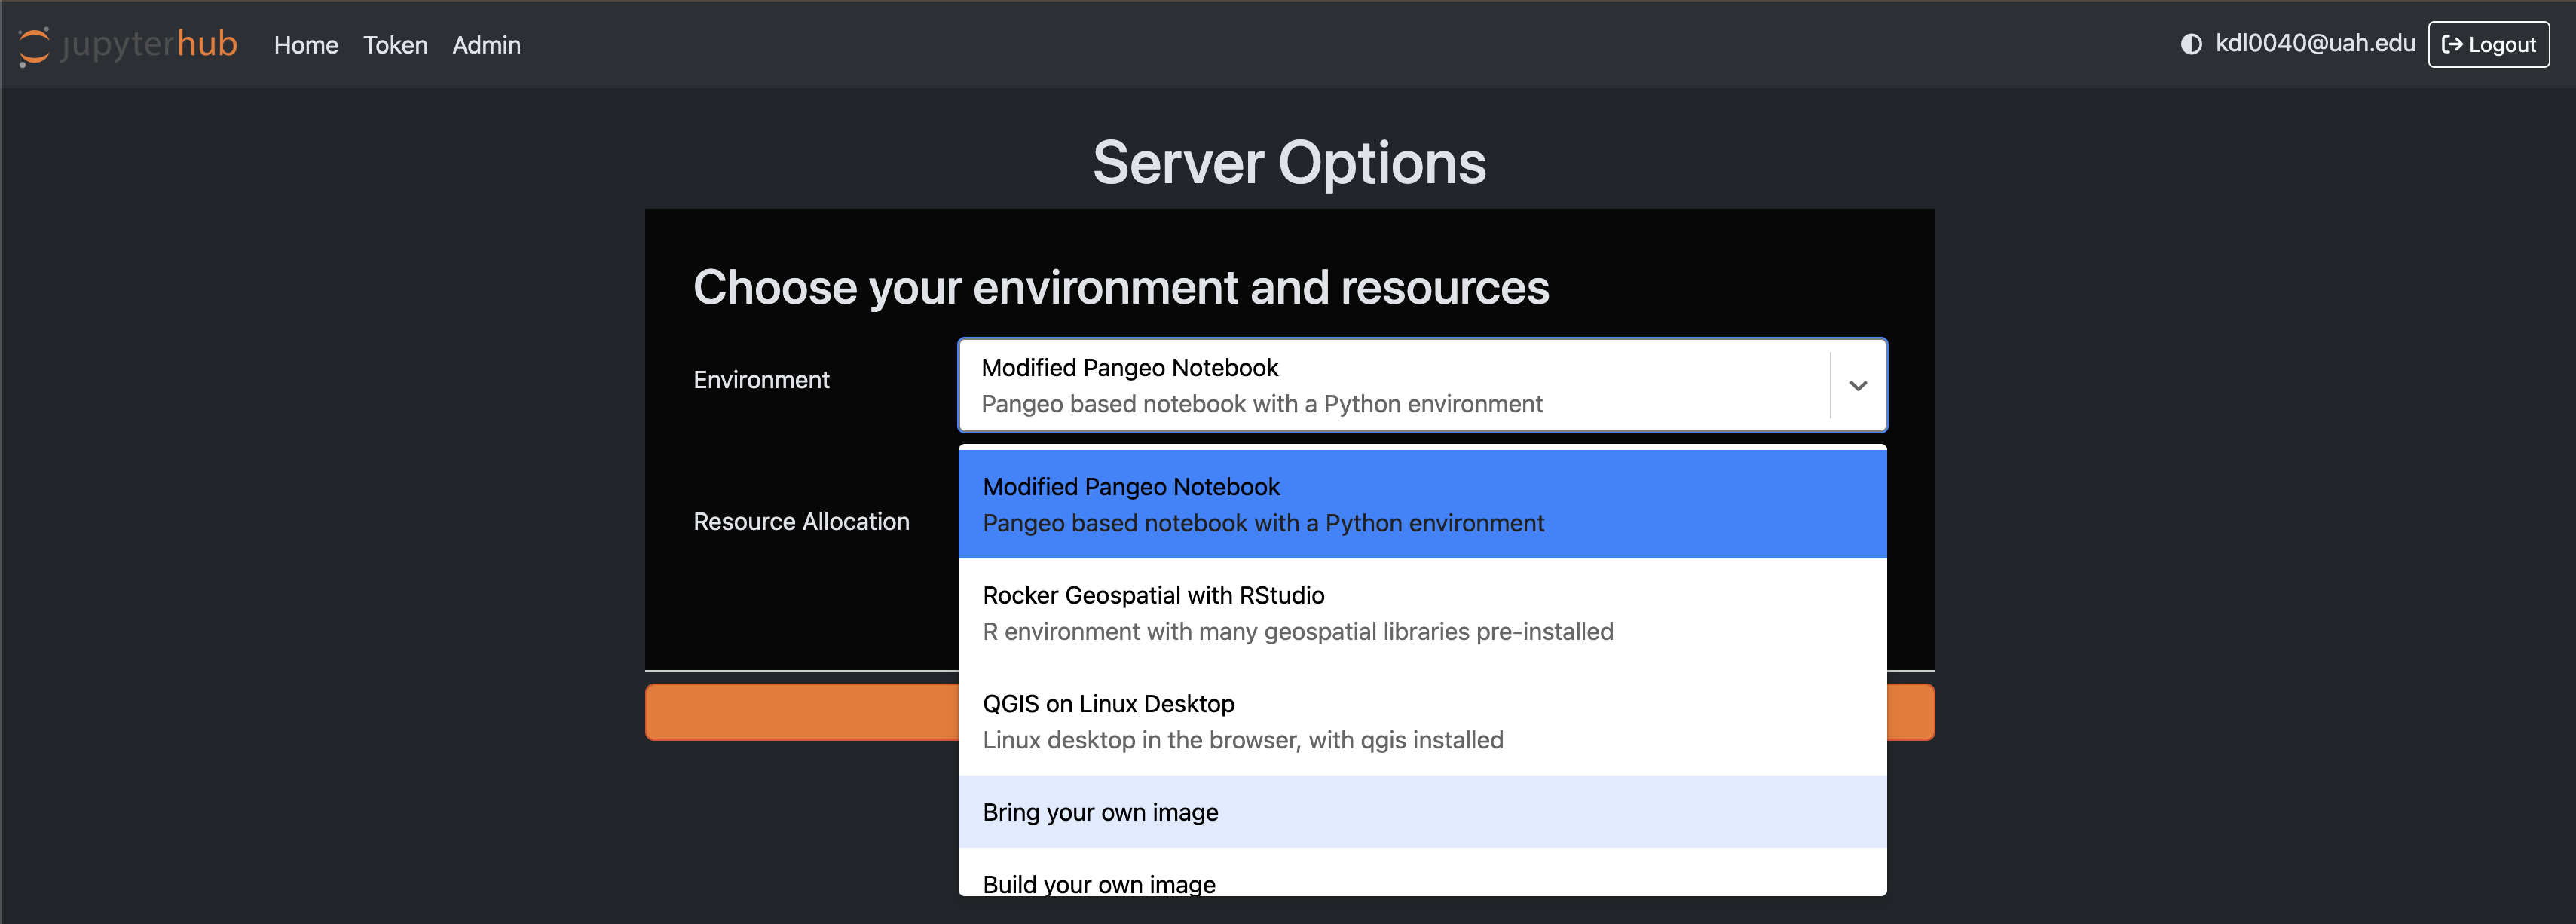
3. Choose Environment
In the Server Options page, locate the Environment dropdown and select “Bring your own image”.
4. Enter Custom Image
In the Custom image field, enter the following Docker image:
klesinger/disasters-jupyterhub-docker-image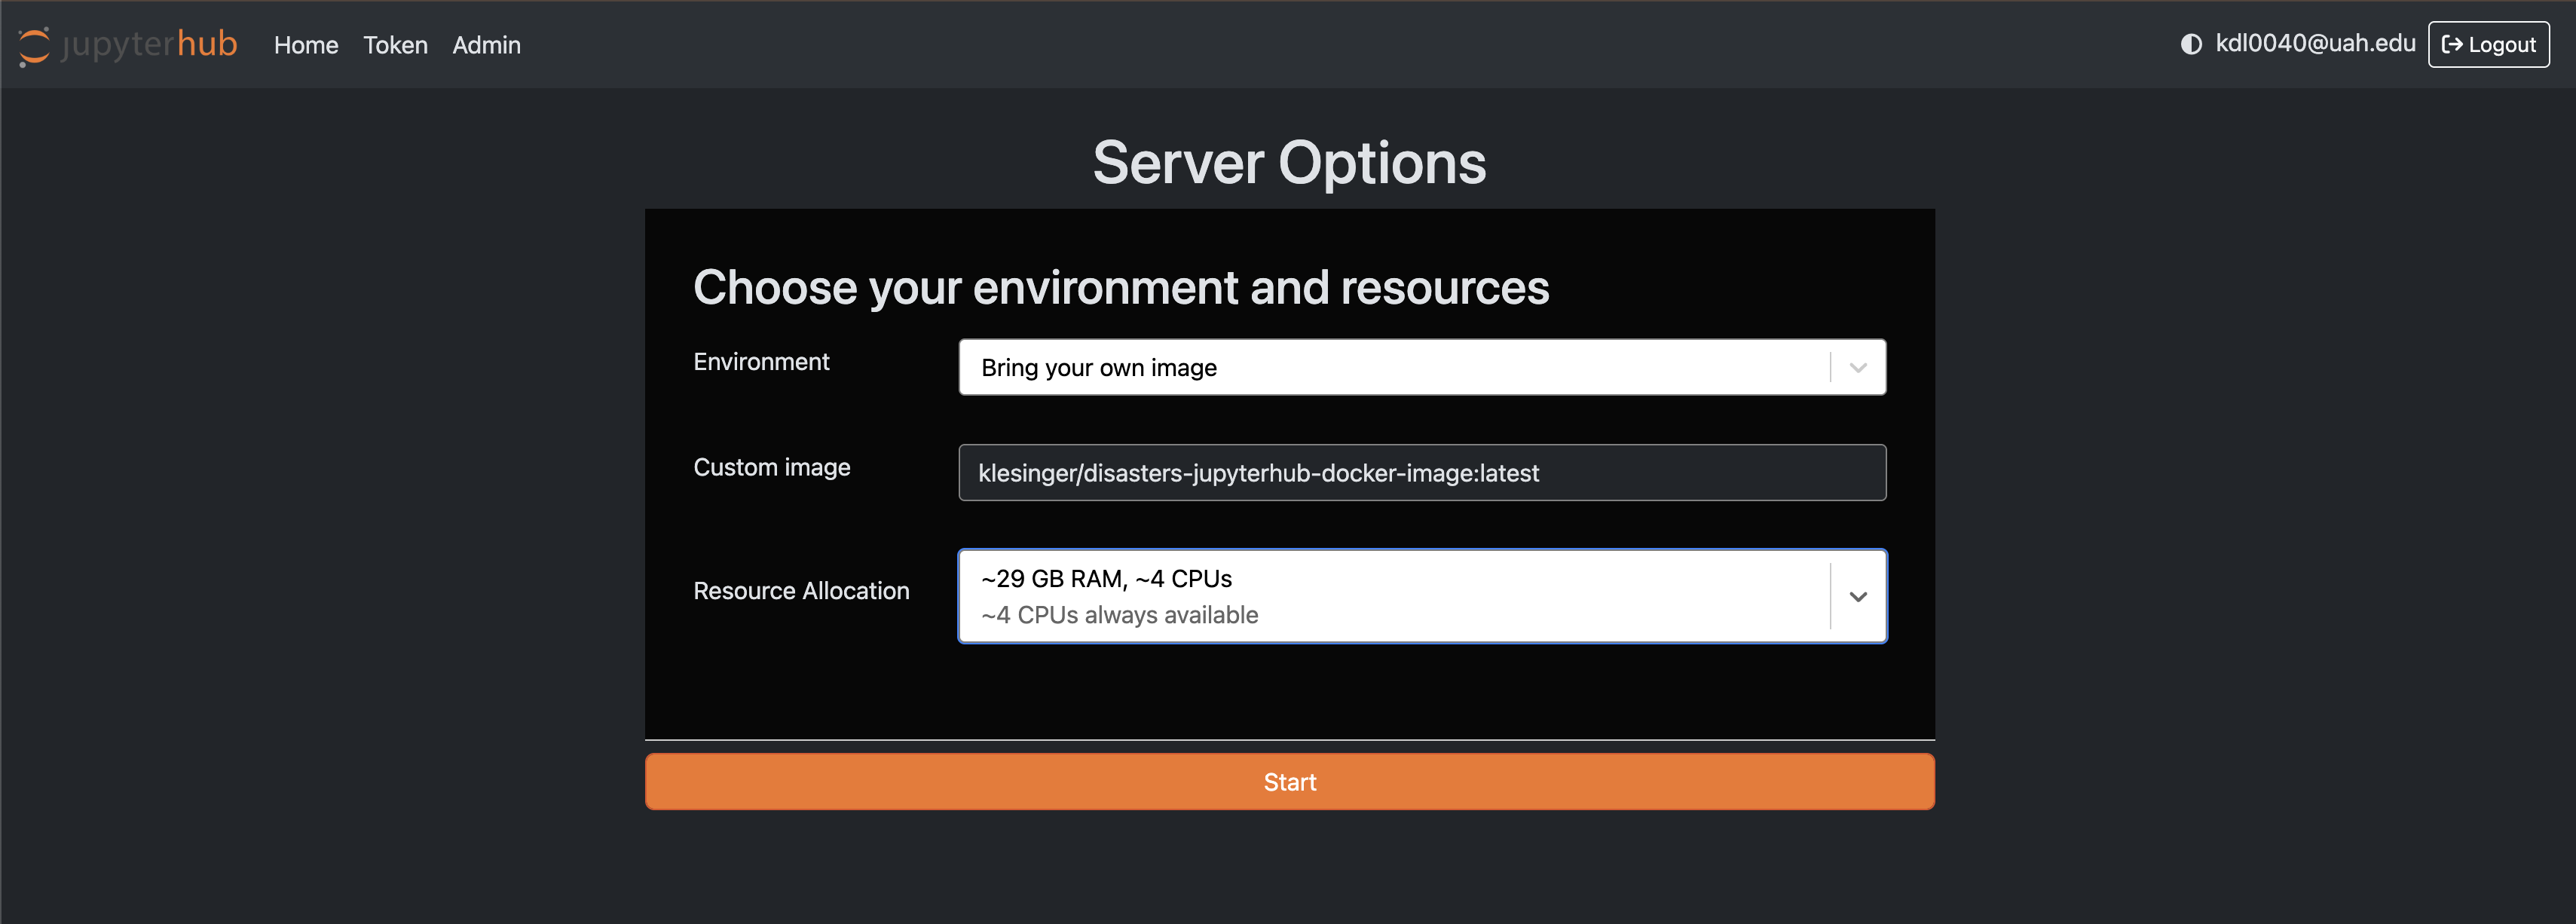
5. Start Server
Click the Start button to launch your JupyterHub server with the custom Disasters image.
Running Sentinel-2 Algorithms
Once your server is running, you can process Sentinel-2 data using the pre-configured workflows.
Access the Sentinel-2 Workflow
- Navigate to the shared-readwrite directory in your JupyterHub file browser
- Open the process_sentinel2 directory
- Launch the sentinel2_workflow.ipynb notebook
- Configure the notebook parameters as needed for your specific use case
- Run the cells to process Sentinel-2 imagery
The workflow notebook contains pre-configured algorithms for common Sentinel-2 data processing tasks.